
How to convert a photo to stencil style drawing using GIMP.
This was tested with the official version of GIMP. This will work on PhotoGIMP things might be slightly different.
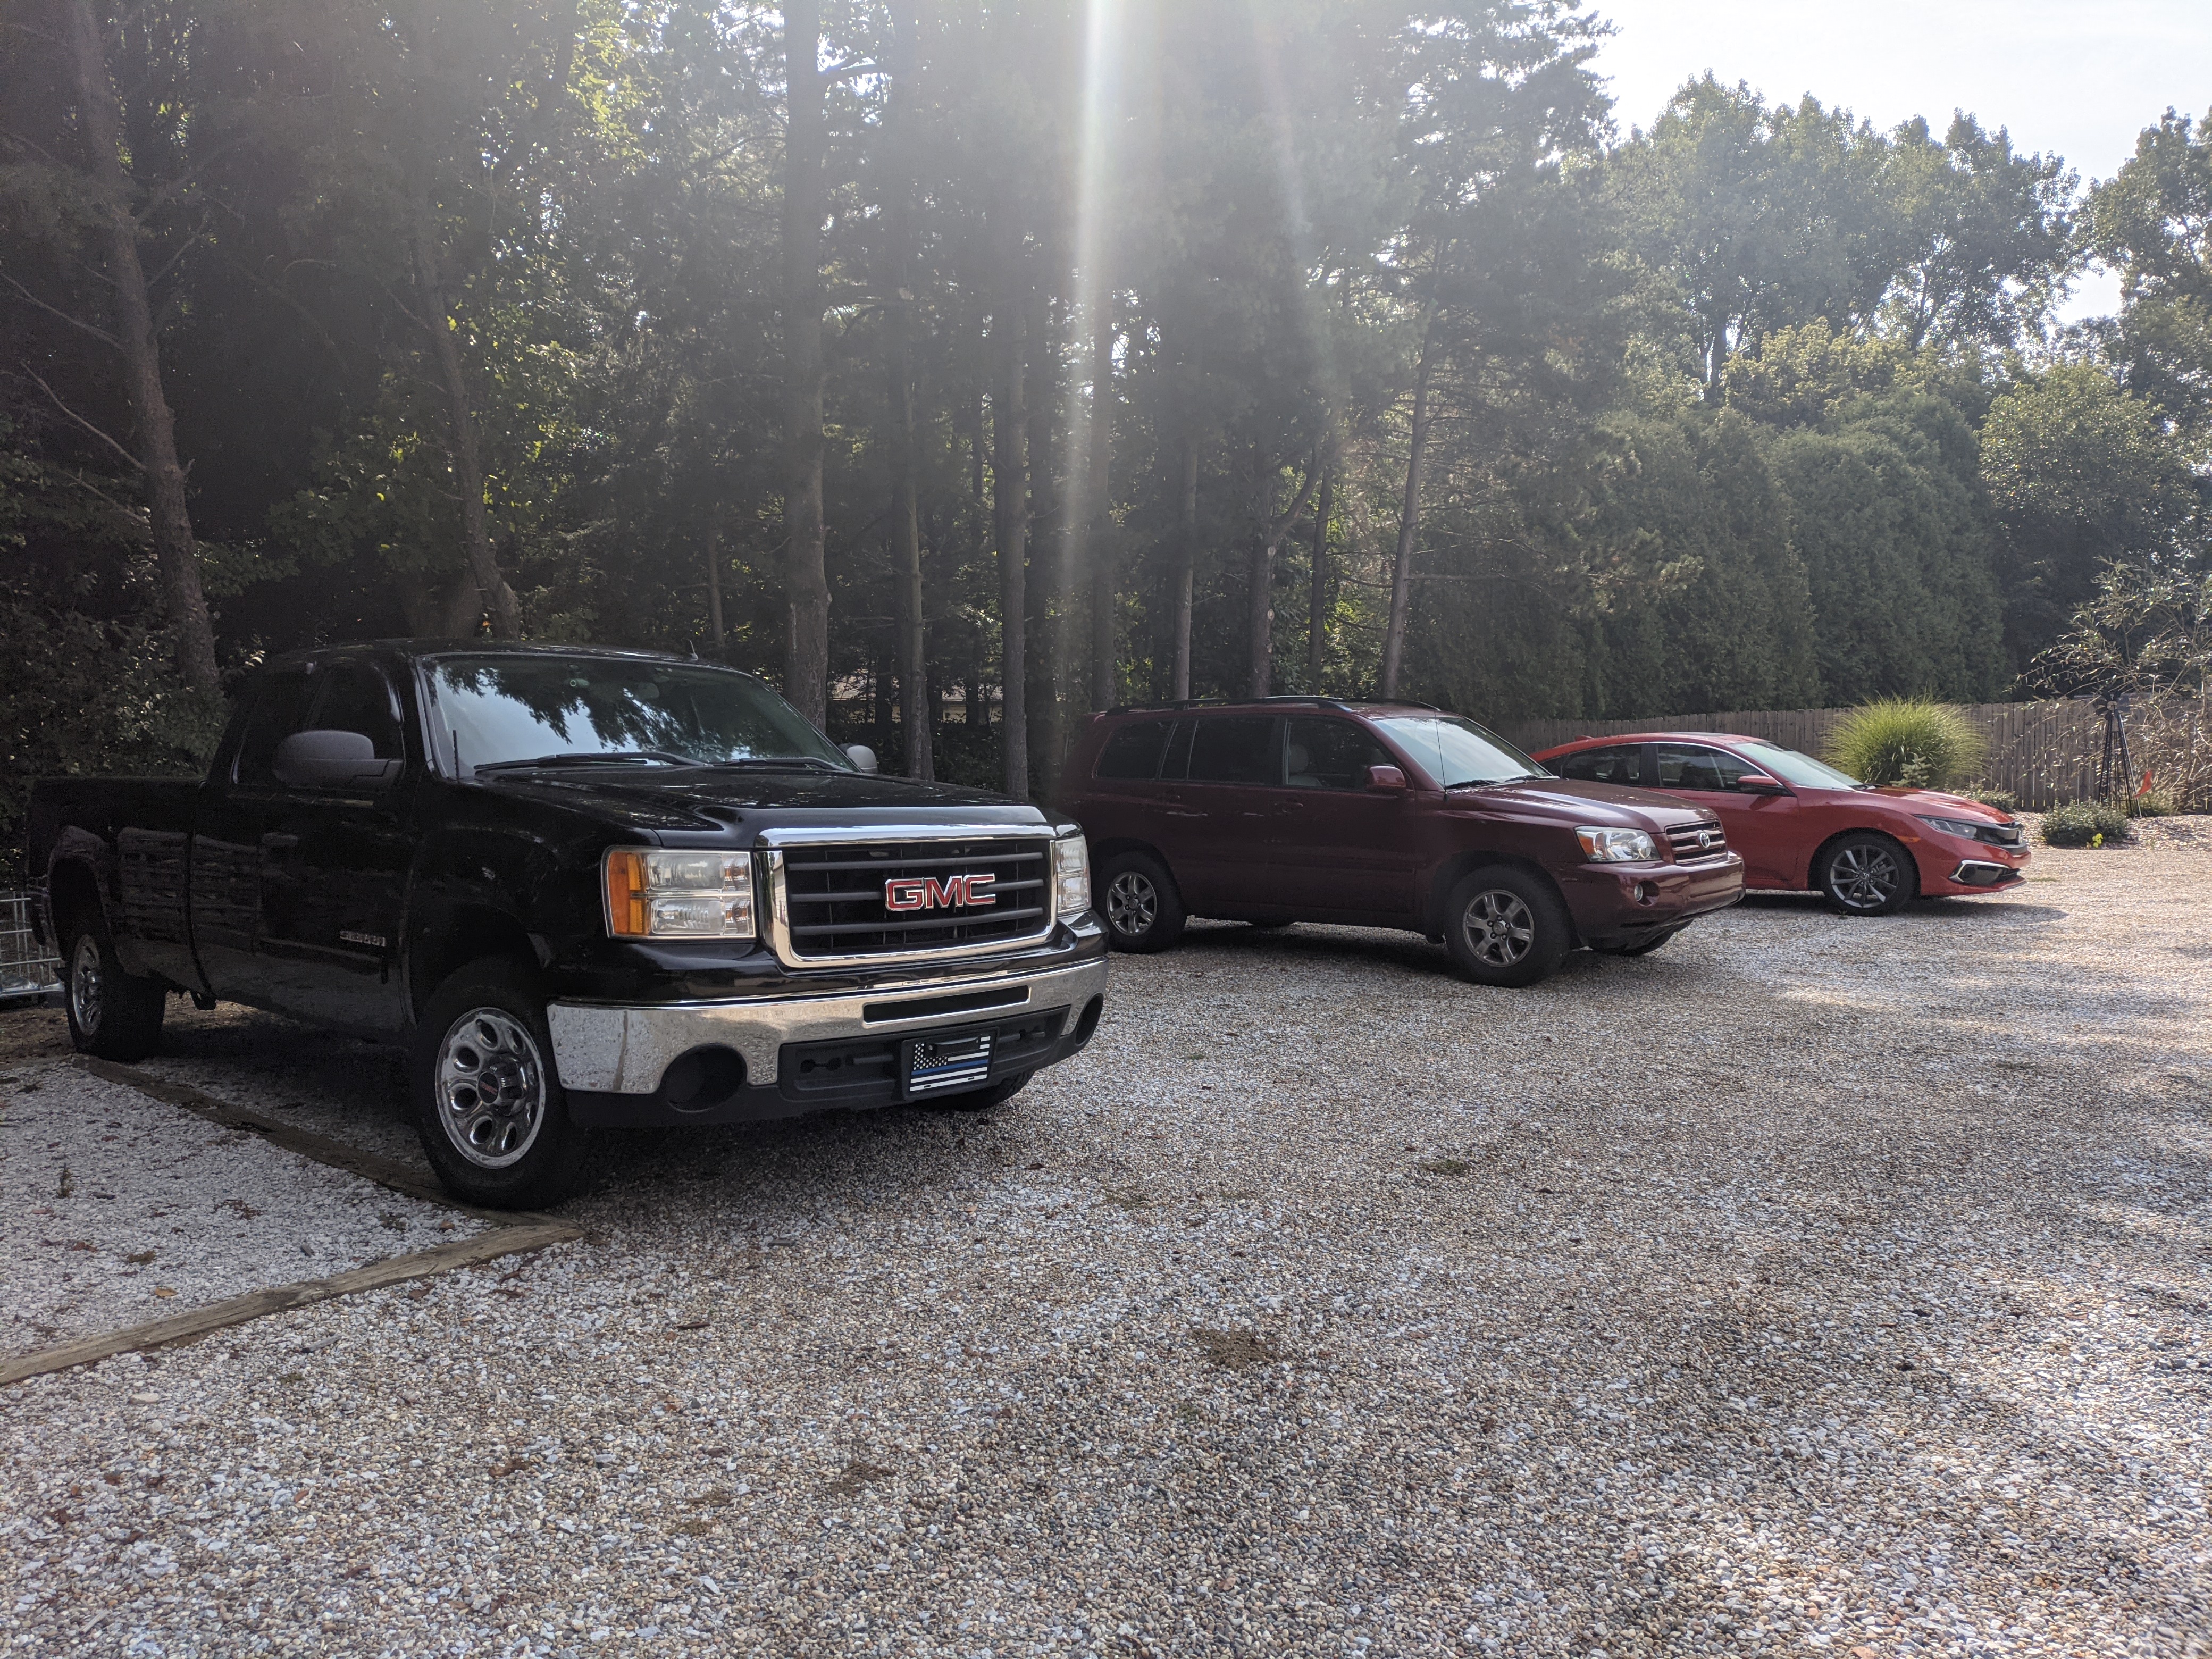
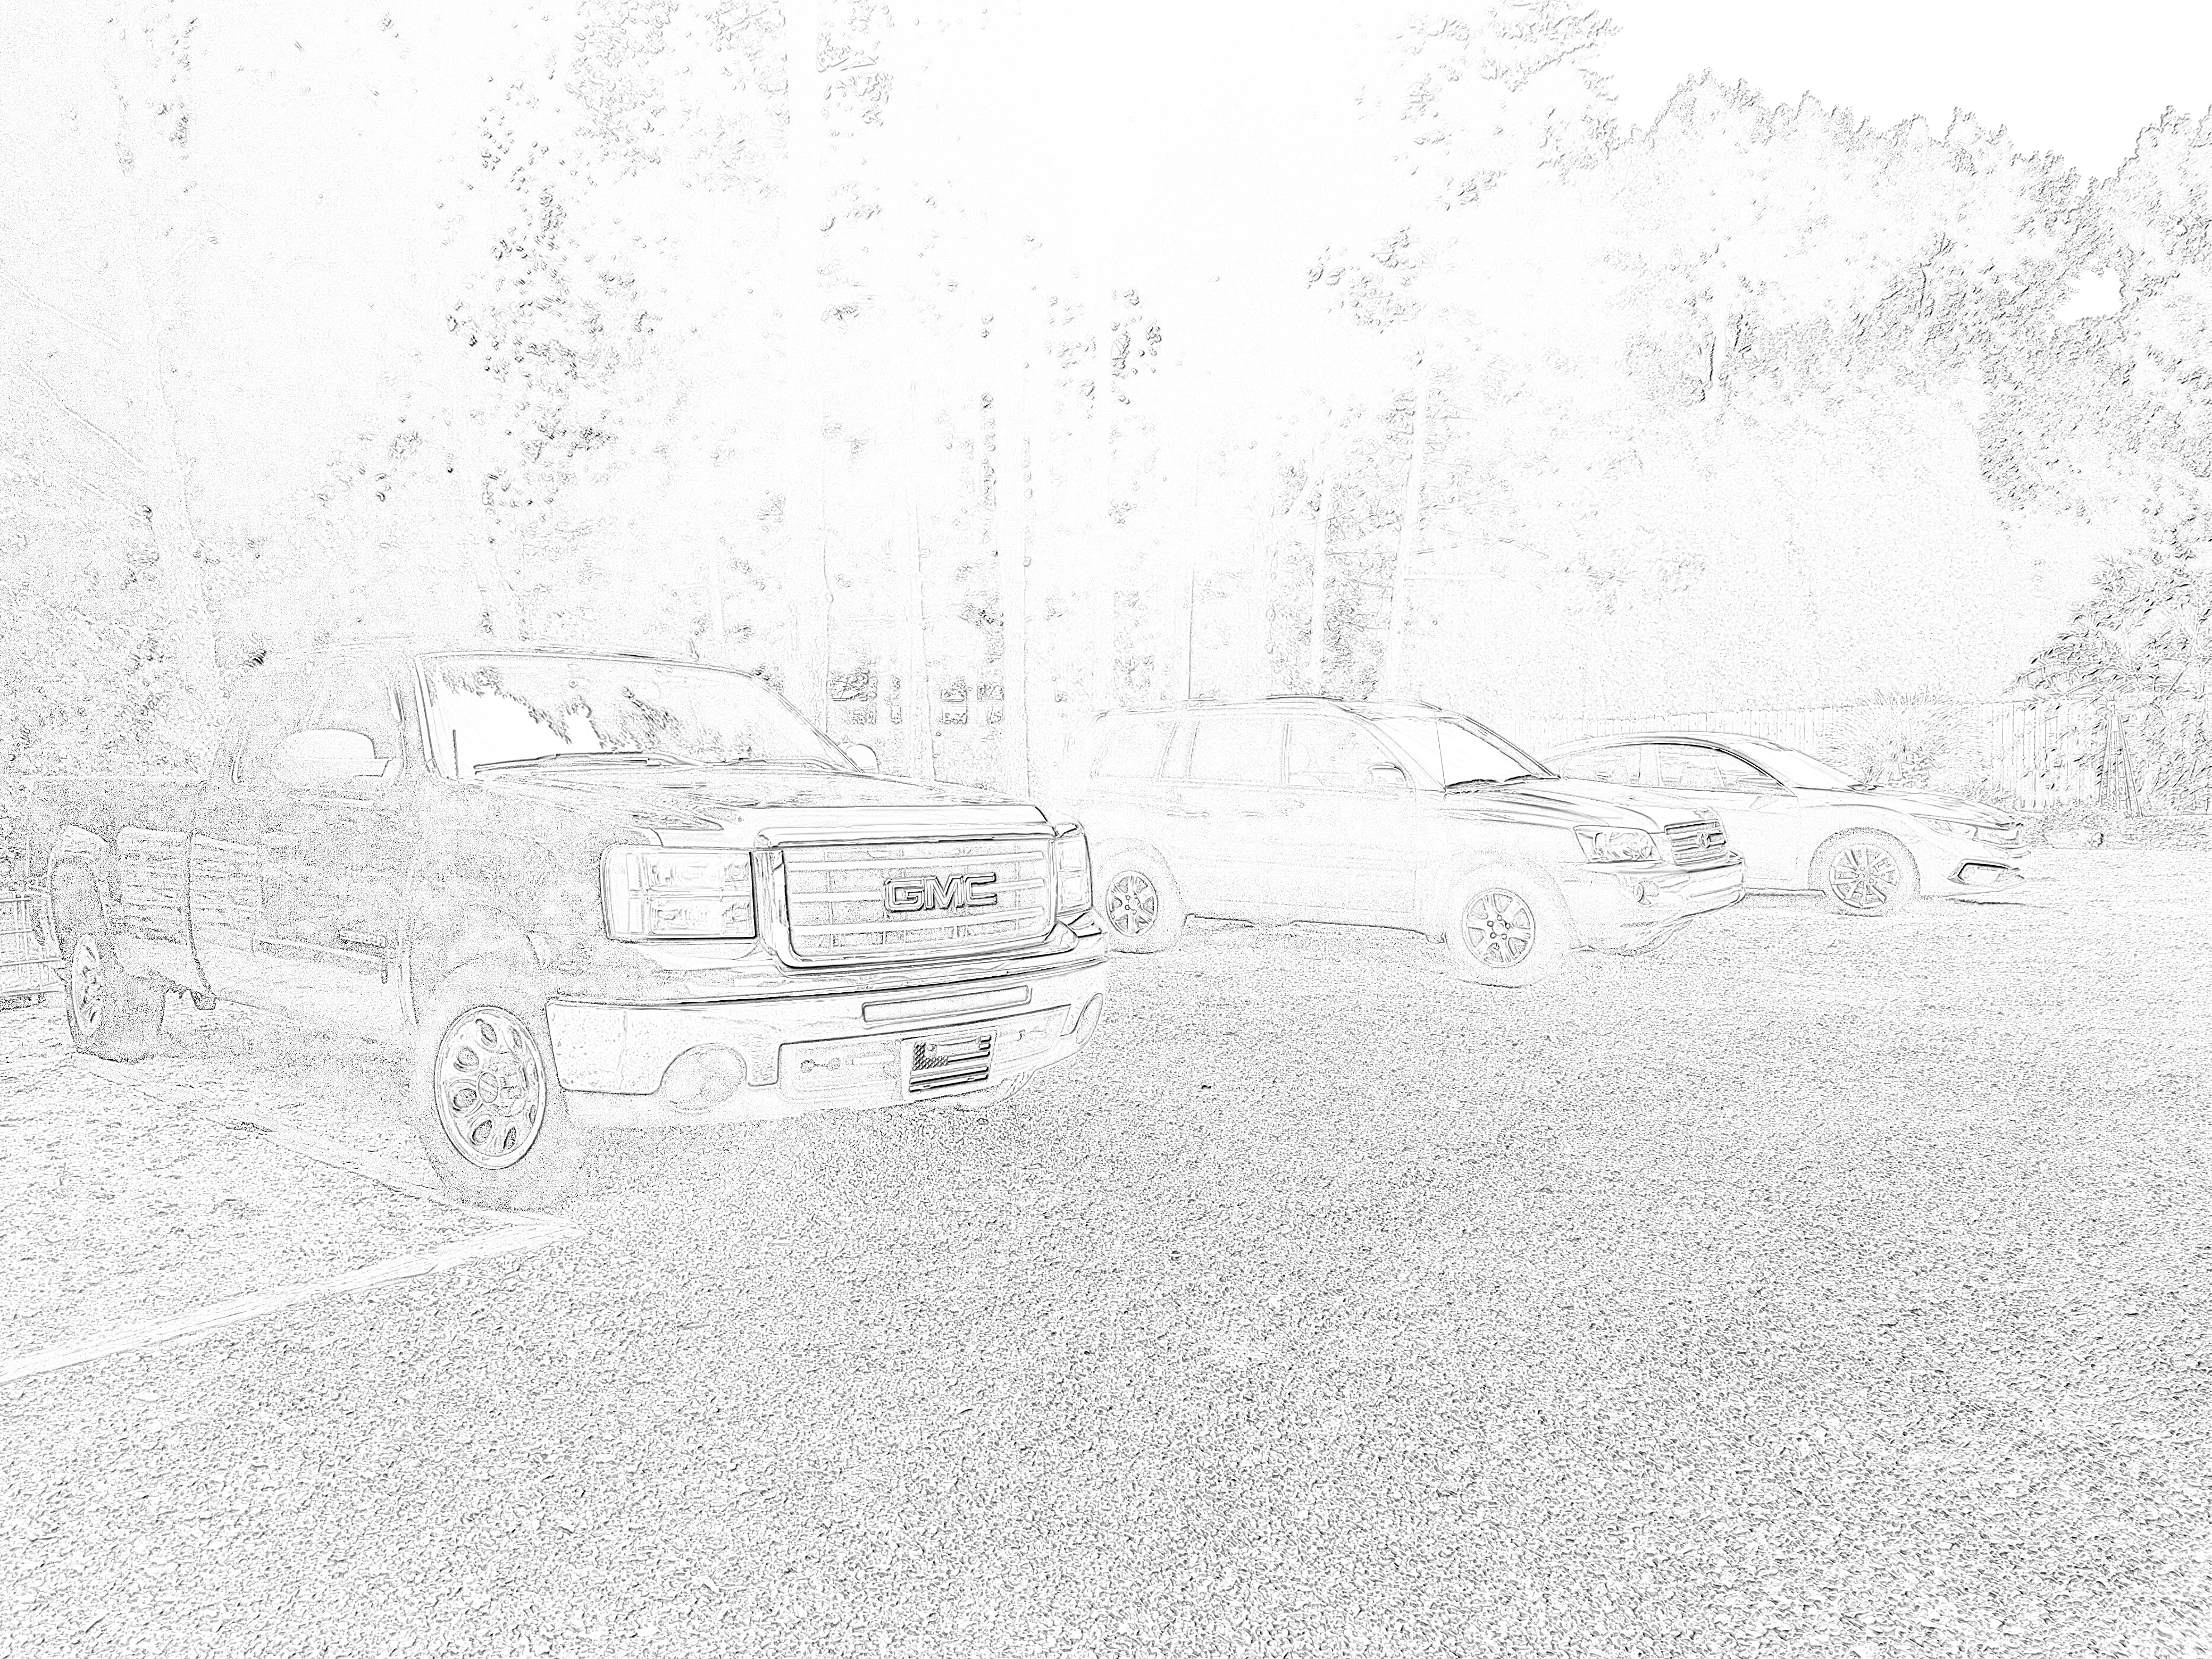
Below is an example of what it could look like when you do this process.
The original:
The final version:
Okay, onto the tutorial now.
Drag and drop the photo to GIMP or add it via the menus.
If asked: "Convert to RGB working space?/Import the image from a color profile".
You should click "Convert".
- Go to "Colors", hover over "Desaturate", then click "Desaturate..." then select "Lightness", or leave it on the default setting of "Luminance", then click "OK".
- Then duplicate the layer twice. For example, you could do that by clicking Ctrl+Shift+D twice.
- Click on the mode button that should say "Normal" and change it to "Dodge".
- Click on "Colors" and click "Invert".
- Go to "Filters", then hover over "Blur" and click "Gaussian Blur..." or try a different blur. Experiment with the blur radius/Size X, and Z, then click "OK".
- Click and drag the bottom layer to the top of the layers.
- Go to "Filters", Hover over "Edge-Detect", and click "Neon..." or you could do "Edge...", experiment with the settings, or just click "OK".
- Now go to "Colors" and click "Invert".
- Click the mode button that should say "Normal" and change it to "Multiply".
- Go to "Colors", then click "Levels..." and adjust the levels to your liking, then click "OK".
- When you are happy, you can export the image. Click "File" then "Export As..." or click "Shift+Ctrl+E". Name it and click "Export", then click "Export" after adjusting the options to your liking.